Restore Deleted or Lost My Pictures Folder
- Simple yet powerful utility that recovers RAW, GIF, TIFF, PNG, DNG, CRW, CR2, ARW, NEF, PDF, and many more image files formats
- Displays a preview recovered files even in the demo version
- Along with picture files, it also recovers videos, audio files, documents, and other files
- Runs efficiently on all editions of Windows and Mac
- Supports folder restoration from memory cards, iPods, external HDD, SSD, USB drives, etc.
Are you unable to find My Pictures folder in your Windows system? If yes, then go through this brief article will guide you in finding the right way to retrieve My Pictures folder that got deleted or lost due to any known/unknown reasons.
Deleted My Pictures folder
My Pictures folder is the default folder which is used to store all type of photos irrespective of the file format. However, sometimes due to some known and unknown factors, all memorable photos from My Pictures folder could get lost or deleted. In order to retrieve My Pictures folder, you need to employ a powerful tool named as Folder Recovery. It is been designed using strong scanning algorithms that instantly scans and extracts the entire My Pictures folder. Moreover, one can also utilize this software to recover lost files from My Documents folder, My Music, My Video, and other folders within simple clicks.
Common reasons for deletion or Loss of My Pictures Folder:
- Sometimes, you may accidentally select My Pictures folder and apply a Shift+Delete key whilst deleting some unwanted folders. This results in permanent deletion of My Pictures folder from your system.
- Unintentional format of the hard drive partitions, which contain My Pictures folder may lead to the deletion or loss of all the data along with My Pictures folder.
- There are chances of My Pictures folder deletion when your system gets highly infected with harmful viruses or malware
- Antivirus scanning may also become one of the major reason behind deletion or loss of photos from My Pictures Folder as the scanning process deletes the infected files from the folder.
One can easily overcome deletion or loss of pictures from the My pictures folder by making use of the Folder Recovery program on Windows systems. It is the award-winning tool and highly recommended by the data recovery experts for secure retrieval of deleted or lost files. The Folder Recovery software can easily recover lost folders and deleted folders irrespective of the causes behind deletion or loss of photos.
Salient features of the Folder Recovery Software:
- It operates on a read-only mode and thereby assures no alterations to the original image quality or structure
- Effortlessly recovers deleted folder from laptop/desktop computers, memory cards, USB drives, external HDD, SSD, etc.
- Compatible with Windows Vista, Windows XP, Windows 7, Windows 8, Windows 10, and Windows Server editions. If you want to know how to recover deleted folders on Windows XP then, click on this link: https://www.folderrecovery.net/deleted-windows-xp.html.
- Provides a preview of the recovered files in two different layouts.
- You can easily recover photos from DCIM folder from SD card and other portable data storage devices like flash memory, CF cards, MMC, xD-picture card, memory sticks, etc.
Simple steps to restore My Pictures folder:
Step 1: Launch the tool, Select the drive from which you want to recover deleted folders and hit the Scan button. If you can’t locate the drive try clicking on Can’t Find Drive? option on the bottom left corner, this will scan your system to locate the drives that weren’t listed before.
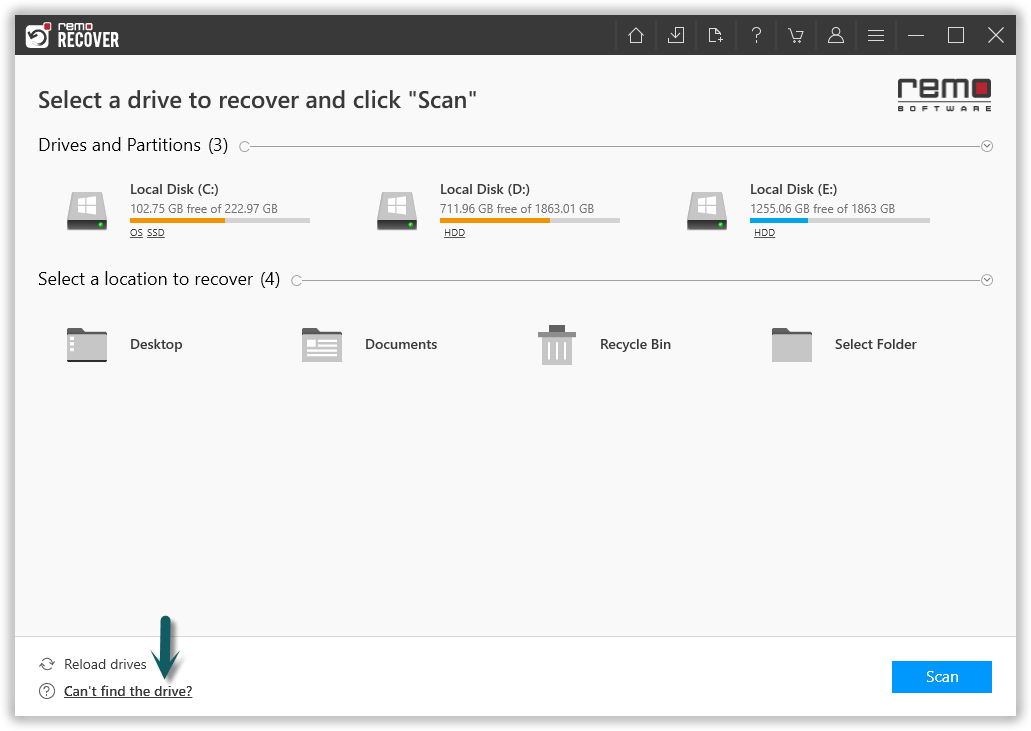
Figure 1: Select the Drive and Click Scan
Step 2: After completion of the Quick Scan process the tool will run into Deep Scan automatically and list all the folders and files in Dynamic Recovery View, Preview the recovered folders and files and verify.
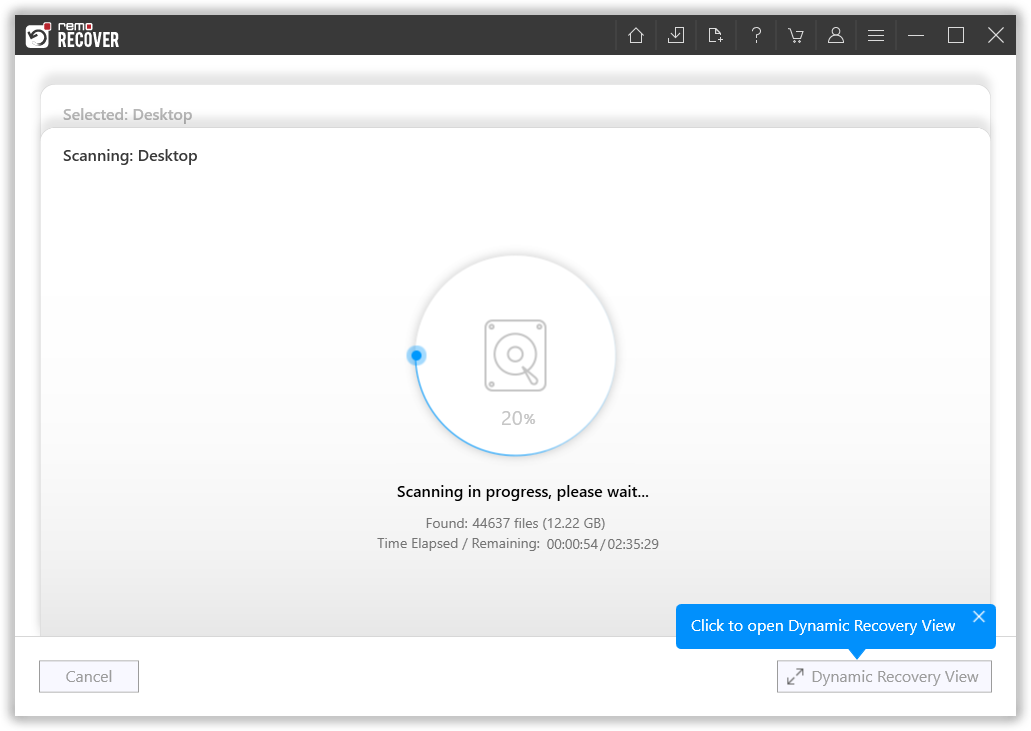
Figure 2: Scanning for Folders
Step 3: Software completes quick scan, and starts with the deep scan to recover more files. After the completion of quick scan, you can find any files you are looking for using the search bar or filters.
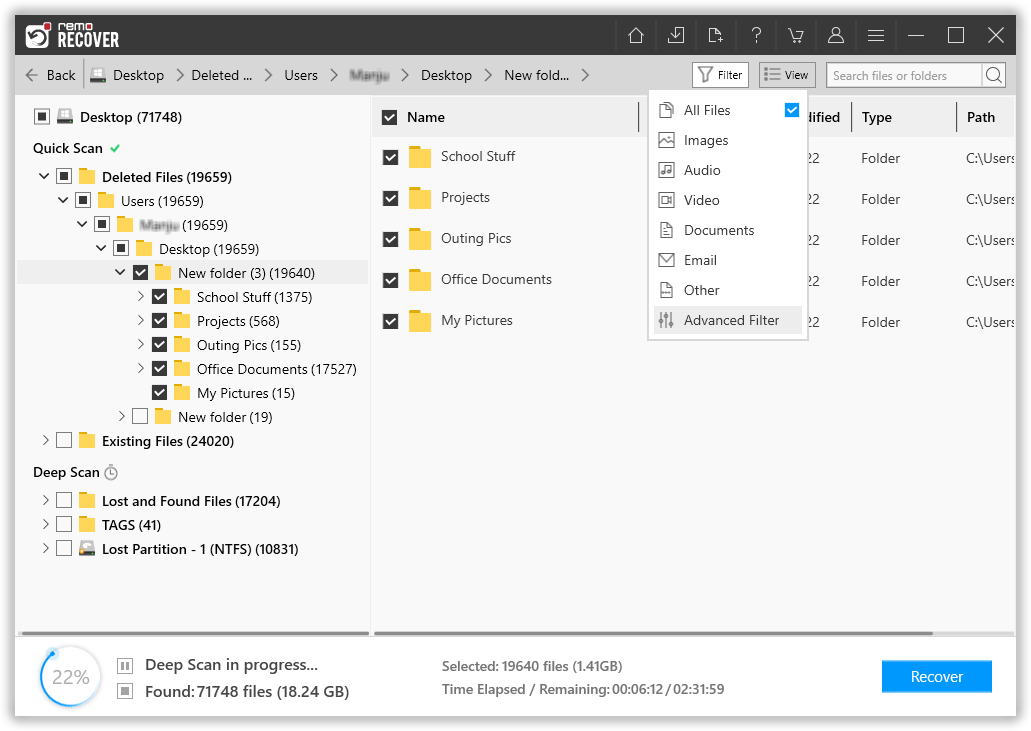
Figure 3: Recovered Files after Quick Scan
Step 4: Double click on any file to preview the files, and evaluate the recovery results.
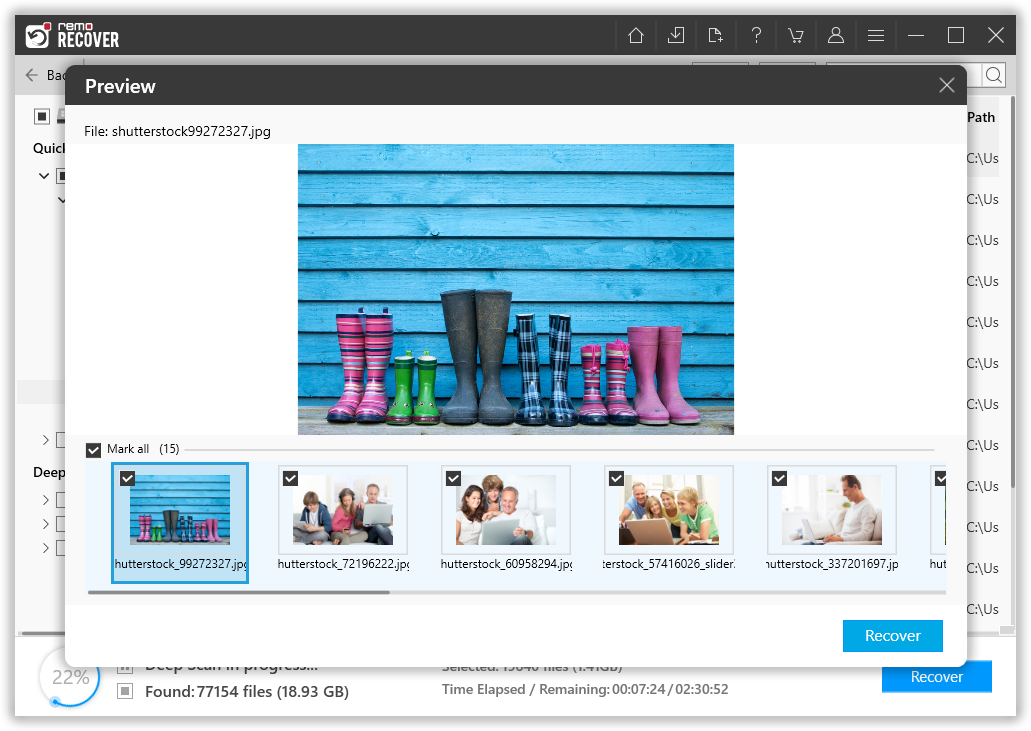
Figure 4: Preview Window
Step 5: Lastly, select a suitable destination path to save the recovered files.
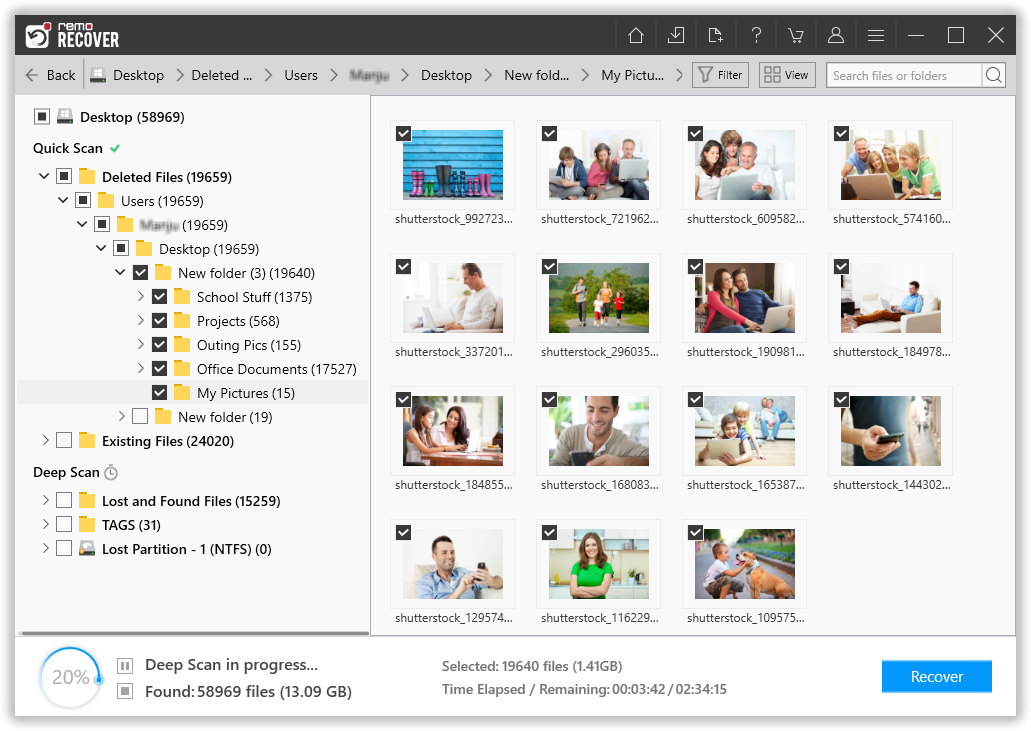
Figure 5: Save Recovered Folders