How to Recover Folders Deleted with RM Command?
- Files and folders that are deleted using RM command on all Mac OS X versions can be retrieved securely Folder Recovery tool
- Supports recovery of over 300+ file types including videos, images, text, audio files, databases, emails, etc.
- Supports folder restoration from all types and brands of external drives- USB Flash drives, external HDD, SSD, FireWire drives, etc.
- One can evaluate the efficiency of the tool by downloading the trial version and previewing the recovered files before activating the licensed software
Macintosh systems have a program called the Terminal that lets you control your machine. The Mac terminal is alike the command prompt in Windows Operating Systems. The Mac terminal allows you to perform various operations.
The following command is used to delete a file through Mac terminal –
rm filename
Now, let's consider a scenario: you were deleting some unwanted files from your Mac OS, but mistakenly you deleted an important one. You might also remove some files using the rm command and later realize that the files were really important.


Deleted vital files using the rm command
Deletion of files via RM command on the Mac terminal is considered to be permanent as the deleted files are not saved anywhere on the Mac system. But that doesn’t mean that they are gone forever. By using the rm command, you are removing only the access information of that file and not the actual file. This means that the file is just made invisible and resides at its original place until some other file replaces it. Files once overwritten cannot be restored using any recovery tool. Therefore, it is a highly recommended that the system, soon after deletion occurs using RM command you should not proceed to perform any further write operations to the disk(so that the file doesn't get overwritten.
Soon after instances of file loss, you must stop using the system drive instead start with deleted folder recovery using the best file restoration program- Folder Recovery software.
Use Folder Recovery Tool to Recover Folders Deleted with RM Command
The Folder Recovery application employs a highly sophisticated scan algorithm that extracts the folder after rm command is executed. The folder recovery software is available as a free demo version and one can try it to recover folder after rm command is used. This will help in estimating the proper working of the tool. The tool has many unique features that help the user in customizing the data retrieval process. Some of them are–
Find Tool: After scanning, a list of recovered files is generated which can be viewed in “File Type View” or “Data View”. To find the file of a specific file in the list, you can simply make use of the Find Tool.
Save Recovery Session: This option enables the user to save the current recovery session and restart it later at any point in time. This avoids rescanning of the entire drive.
Preview: It also features a preview option using which the recovered files can be reviewed.
The software can be used on all the versions of Mac OS i.e. Mac OS X 10.5.x and later versions- Leopard, Snow Leopard, Lion, Mountain Lion, Yosemite, Mavericks, El Capitan, Sierra, and High Sierra. This utility is also capable of recovering deleted music folders, songs, videos, documents, etc. from the system drives and various other external storage drives.
Steps to recover folders deleted using the rm command:
Step 1: Launch the tool, Select the drive from which you want to recover deleted folders and hit the Scan button. If you can’t locate the drive try clicking on Can’t Find Drive? option on the bottom left corner, this will scan your system to locate the drives that weren’t listed before.
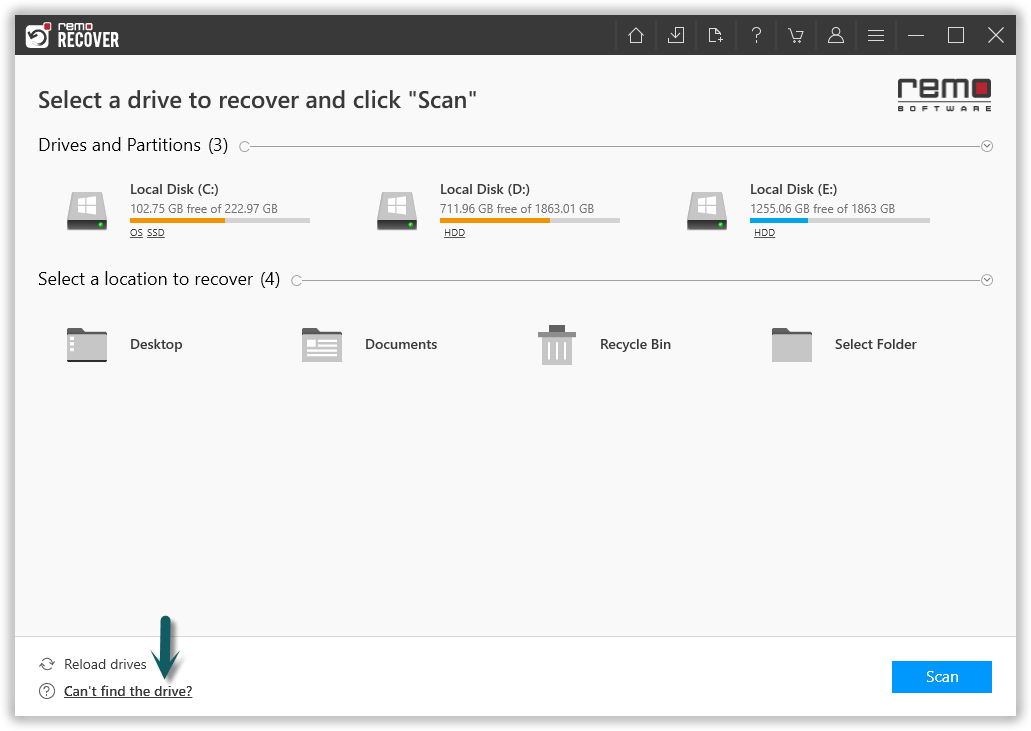
Figure 1: Select the Drive and Click Scan
Step 2: After completion of the Quick Scan process the tool will run into Deep Scan automatically and list all the folders and files in Dynamic Recovery View, Preview the recovered folders and files and verify.
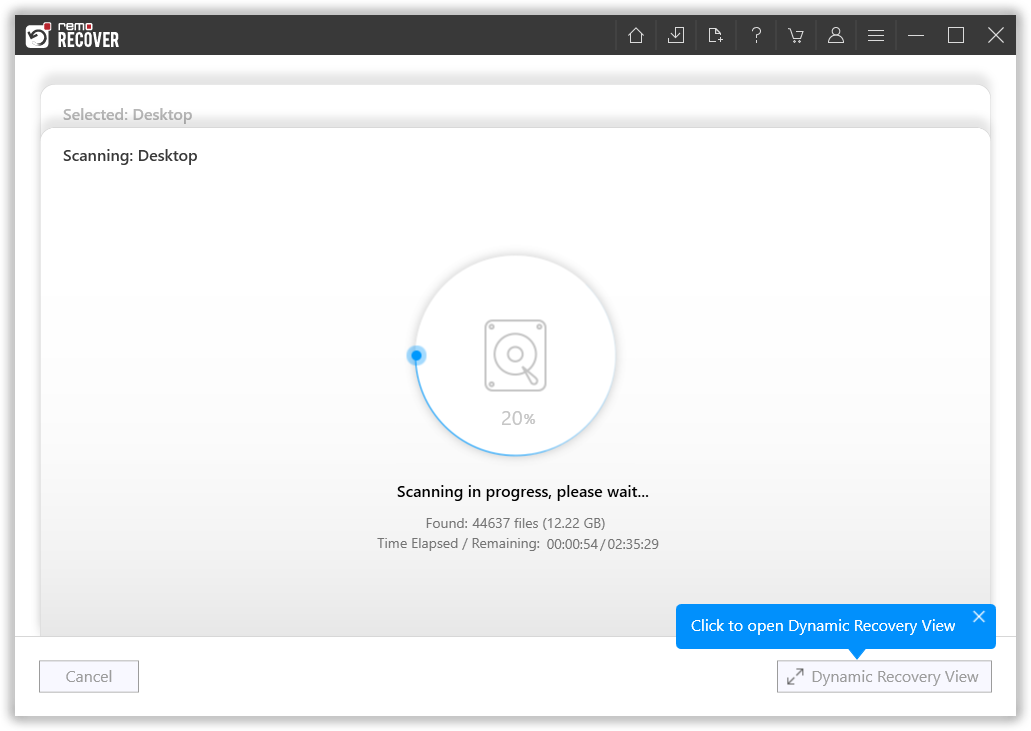
Figure 2: Scanning for Folders
Step 3: Software completes quick scan, and starts with the deep scan to recover more files. After the completion of quick scan, you can find any files you are looking for using the search bar or filters.
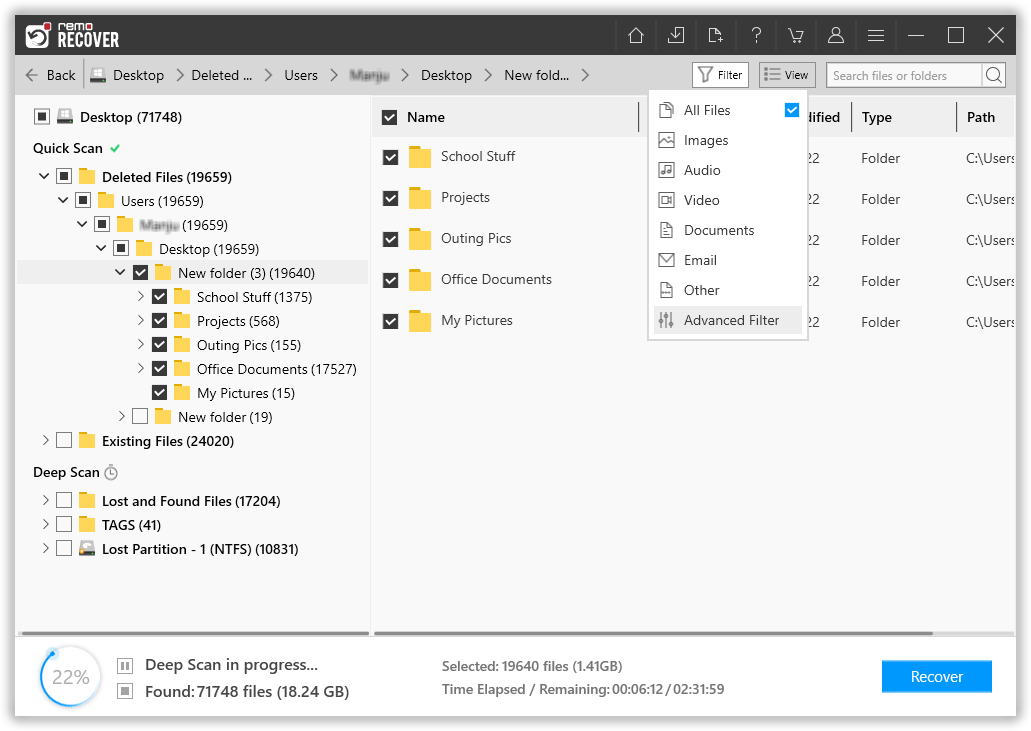
Figure 3: Recovered Files after Quick Scan
Step 4: Double click on any file to preview the files, and evaluate the recovery results.
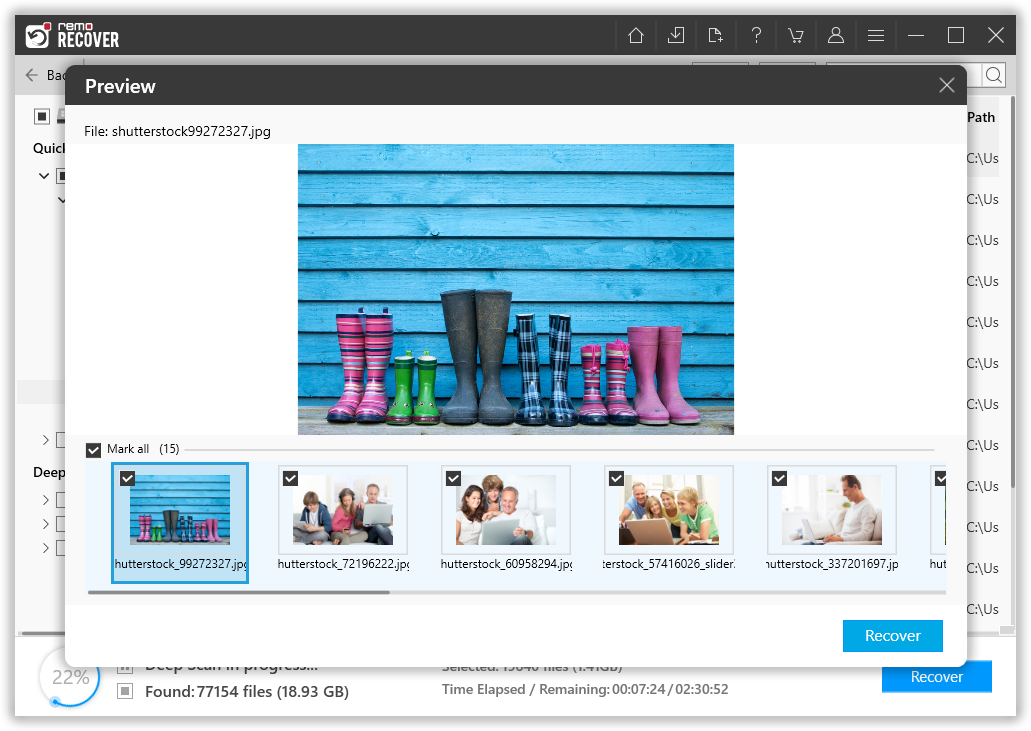
Figure 4: Preview Window
Step 5: Lastly, select a suitable destination path to save the recovered files.
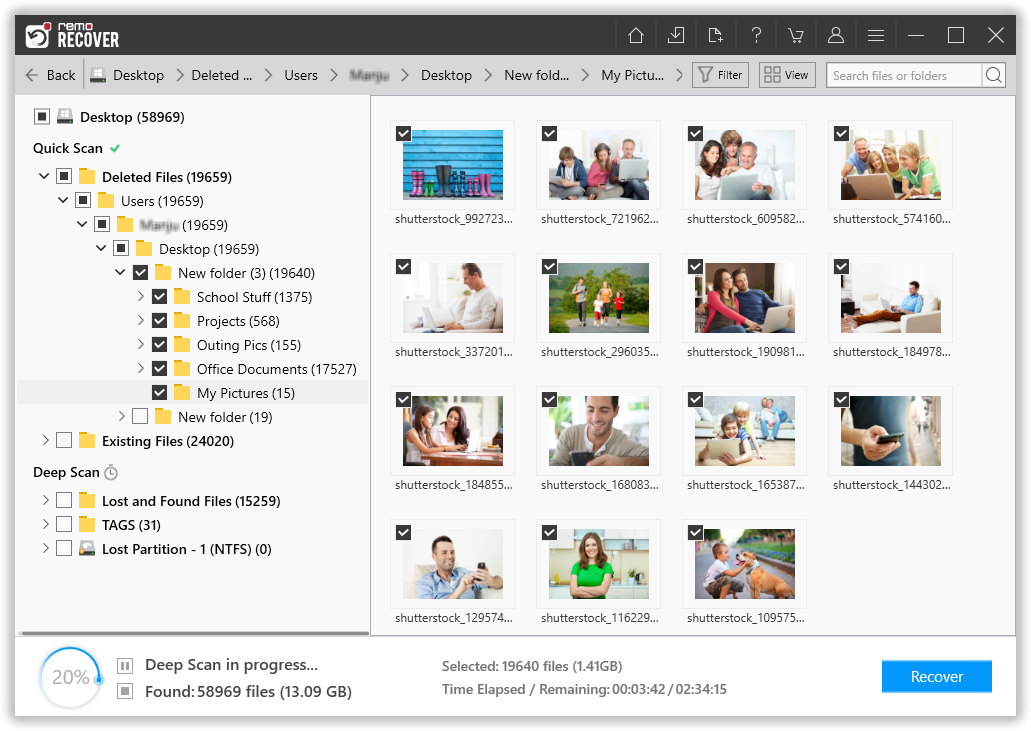
Figure 5: Save Recovered Folders